
Getting a windshield replacement might sound like a hassle, but in reality, it’s a relatively straightforward process that can have a huge impact on your car’s safety and your peace of mind. Whether you’re dealing with a small crack that’s spreading or a large shattered windshield, understanding what to expect during your windshield replacement appointment can make the experience smoother and less stressful. Here’s a breakdown of the steps involved and what you can expect from start to finish.
1. Before the Appointment: Preparing Your Car
Once you’ve scheduled your windshield replacement, there are a few things you can do to prepare your car for the appointment. Most shops will give you a heads-up on any requirements beforehand, but here’s what you need to know:
-
Clear out your vehicle: Remove any personal belongings from your car, especially from the dashboard and the area around the windshield. This gives the technician easier access and ensures that nothing gets in the way of the job. Plus, it prevents your stuff from getting damaged during the process.
-
Be prepared for the time commitment: Replacing a windshield typically takes about 1 to 2 hours, depending on the type of vehicle and the complexity of the job. While some shops offer mobile services and will come to you, others may require you to bring your car in. Plan accordingly to ensure you have enough time or arrange alternative transportation if needed.
-
Check your insurance coverage: If you’re using insurance to cover the cost, confirm that you’ve provided all the necessary information. Many windshield replacement services will work directly with your insurance company, making the process easier for you.
2. Arrival at the Shop: Checking In
Once you arrive at the shop, you’ll need to check in. The receptionist or technician will confirm your appointment details and may ask you to provide:
-
Proof of insurance (if applicable)
-
Vehicle information (make, model, and year of your car)
-
Your approval for the replacement: If you’re having the windshield replaced rather than repaired, the technician will confirm the cost, your deductible, and any other details before proceeding.
Expect a short wait if the shop is busy. Depending on the facility, they may have a waiting area with complimentary refreshments, Wi-Fi, and magazines, or you may need to find something to do while the work is done. Either way, it’s usually a brief wait.
3. The Windshield Replacement Process: Step-by-Step
Once you’ve checked in and provided all the necessary details, the technicians will begin working on your car. Here’s what you can expect during the actual windshield replacement process:
Step 1: Removing the Old Windshield
The first task is removing the old, damaged windshield. This involves carefully cutting through the sealant or adhesive holding the glass in place. A professional technician will use specialized tools to remove the windshield without damaging the surrounding frame or causing any additional damage to your car.
For the best results, the technician will work slowly and methodically to ensure the glass is removed in one piece. In some cases, they may need to remove the windshield wipers, trim, or molding to access the edges of the glass.
Step 2: Cleaning the Area
Once the damaged windshield is removed, the technician will clean the frame of your vehicle thoroughly. This step is crucial because any leftover dirt, debris, or old adhesive can prevent the new windshield from adhering properly. The technician will use specialized cleaning agents and tools to ensure the surface is completely free of contaminants.
They’ll also inspect the frame to make sure there’s no damage to the underlying structure of the vehicle. If there is any rust or deterioration, they’ll address it before moving on.
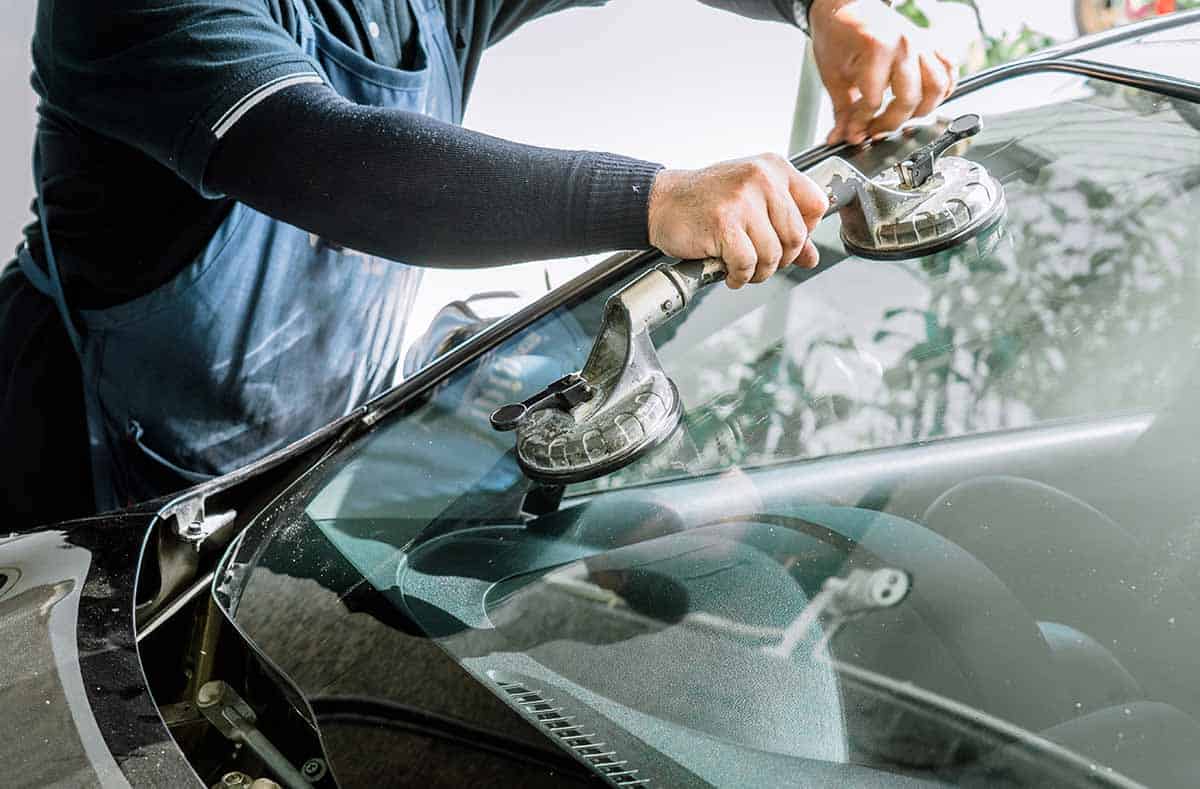
Step 3: Installing the New Windshield
After cleaning, the technician will apply a fresh layer of high-quality adhesive or sealant to the windshield frame. This ensures that the new glass will be securely bonded to the car. The technician will then carefully place the new windshield into position, aligning it precisely with the frame.
Professional auto glass technicians have the experience to handle this step with precision, ensuring the windshield is perfectly centered and securely attached.
Step 4: Sealing the Edges
Once the windshield is in place, the technician will ensure that the edges are properly sealed. This step is essential for preventing leaks and keeping water, dust, and wind out of your car. A proper seal also helps with noise reduction, ensuring a quieter driving experience.
Some shops may also apply a protective coating to the windshield to prevent water spots and enhance visibility in rainy conditions.
4. After the Replacement: Curing and Inspection
After the new windshield is installed, the technician will typically give the adhesive some time to cure. This curing time allows the adhesive to bond properly and ensures that the Phoenix windshield replacement is firmly in place. Depending on the type of adhesive used, this can take anywhere from 30 minutes to an hour. While the curing time can vary, most shops will recommend that you don’t drive the car immediately after installation to allow the adhesive to set.
During this period, the technician will perform a final inspection to ensure that the windshield is properly installed and that the seal is tight. They will also check for any visible defects in the new glass and confirm that the windshield wipers, molding, and any other components are functioning properly.
5. Final Steps: Payment and Pickup
Once the technician has completed the installation and confirmed that everything is up to standard, it’s time to wrap things up. If you’re paying out-of-pocket, you’ll settle the bill at the front desk. If you’re using insurance, the shop will typically handle the billing process directly with your insurance provider.
Before you leave, take a moment to inspect the new windshield yourself. Look for any imperfections or visible issues, such as air bubbles, chips, or cracks. If anything doesn’t look right, it’s important to address it before leaving the shop.
6. Driving Away: What to Keep in Mind
After your windshield is replaced, you’ll need to follow a few important post-installation care guidelines to ensure the longevity of your new glass:
-
Avoid driving for a few hours: As mentioned earlier, the adhesive needs time to cure. Avoid heavy driving or slamming doors during this time to let the bond fully set.
-
Don’t wash the car right away: Most professionals recommend waiting at least 24 hours before washing your car, especially if it’s a high-pressure wash, to avoid disturbing the adhesive.
-
Be cautious with the new windshield: For the first few days, avoid using the windshield wipers on a dry windshield, as this can scratch the surface of the glass.
Conclusion: A Simple, Straightforward Process for Your Safety
While the idea of windshield replacement may seem intimidating, the process is simple and quick when handled by professionals. From the moment you arrive at the shop to the moment you drive away with your new windshield, you can expect a thorough, efficient service designed with your safety and satisfaction in mind. So, whether you’re dealing with a small crack or a shattered windshield, rest assured that the professionals have everything covered—and you’ll be back on the road in no time, with a safe and reliable windshield.